Minecraft Trash Can is an essential feature for players who want to manage their inventory efficiently. In this block-building game, players often find themselves overwhelmed with items they no longer need. Building a trash can in Minecraft allows you to dispose of unwanted items quickly and cleanly. This article will explore everything you need to know about creating and using a trash can in Minecraft.
As we dive into the world of Minecraft trash cans, we will also touch upon the importance of inventory management, and how a simple trash can can enhance your gaming experience. Let’s get started on our journey to a cleaner Minecraft world!
Table of Contents
- What is a Trash Can in Minecraft?
- Why You Need a Trash Can
- How to Build a Basic Trash Can
- Advanced Trash Can Designs
- How to Use a Trash Can
- Common Mistakes to Avoid
- Maintaining Your Trash Can
- Conclusion
What is a Trash Can in Minecraft?
A trash can in Minecraft is a simple contraption that allows players to dispose of unwanted items quickly. Unlike a chest or a hopper, which stores items, a trash can is designed to eliminate them. This feature is especially handy for players who frequently gather resources and find themselves with excess materials that clutter their inventory.
Types of Trash Cans
- Basic Trash Can: A straightforward design that utilizes a few blocks and a water source.
- Redstone Trash Can: An advanced design that incorporates redstone mechanisms for automatic disposal.
- Item Disposal System: A more complex system that can handle multiple items at once.
Why You Need a Trash Can
Managing your inventory is crucial in Minecraft, especially when you’re exploring caves or building elaborate structures. Here are some reasons why a trash can is a must-have:
- **Decluttering Inventory**: A trash can helps you get rid of items you don’t need, making it easier to find useful materials.
- **Efficient Resource Management**: By disposing of unwanted items, you can keep your inventory organized and focused on what matters most.
- **Improved Gameplay**: With a clean inventory, you can enhance your gameplay experience and reduce frustration.
How to Build a Basic Trash Can
Building a basic trash can in Minecraft is quick and easy. Here’s a step-by-step guide to help you create one:
Materials Needed
- 1 Chest
- 1 Water Bucket
- 2 Blocks (any type)
Steps to Build
- Place the chest on the ground.
- Dig one block down next to the chest and place a water source block in the hole.
- Cover the top of the chest with two blocks, leaving a gap for you to access the chest.
- Your basic trash can is now complete! Simply drop items into the water to dispose of them.
Advanced Trash Can Designs
Once you’ve mastered the basic trash can, you can explore advanced designs that offer extra functionality. Here are a couple of popular options:
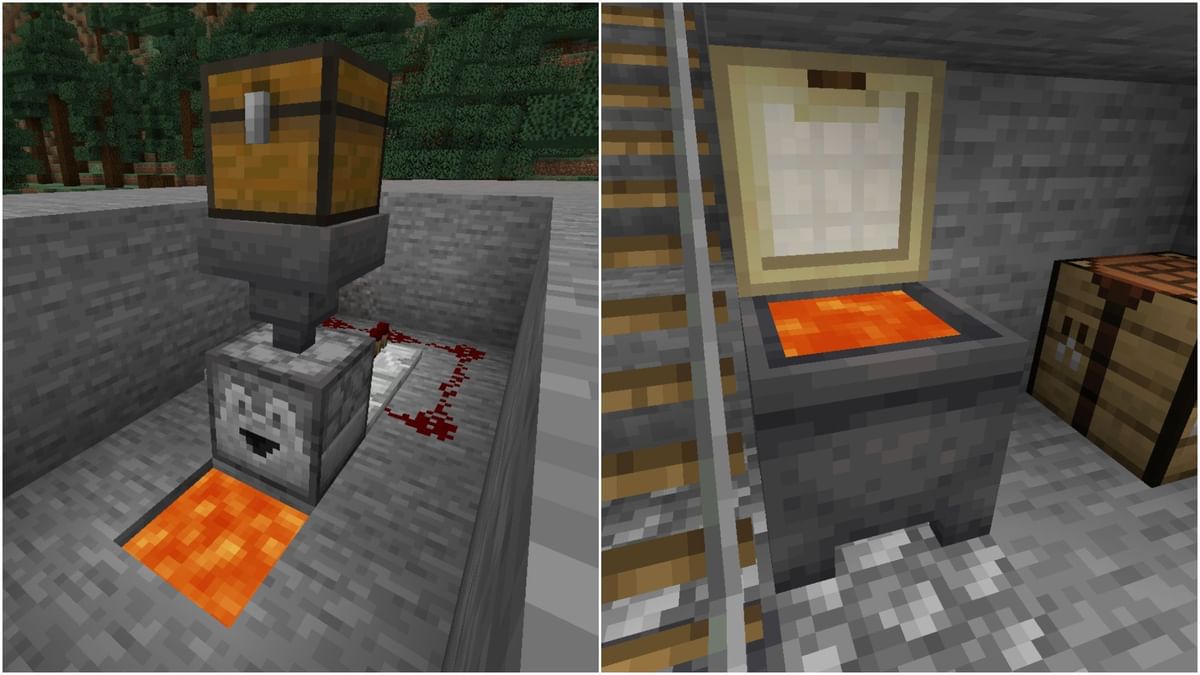
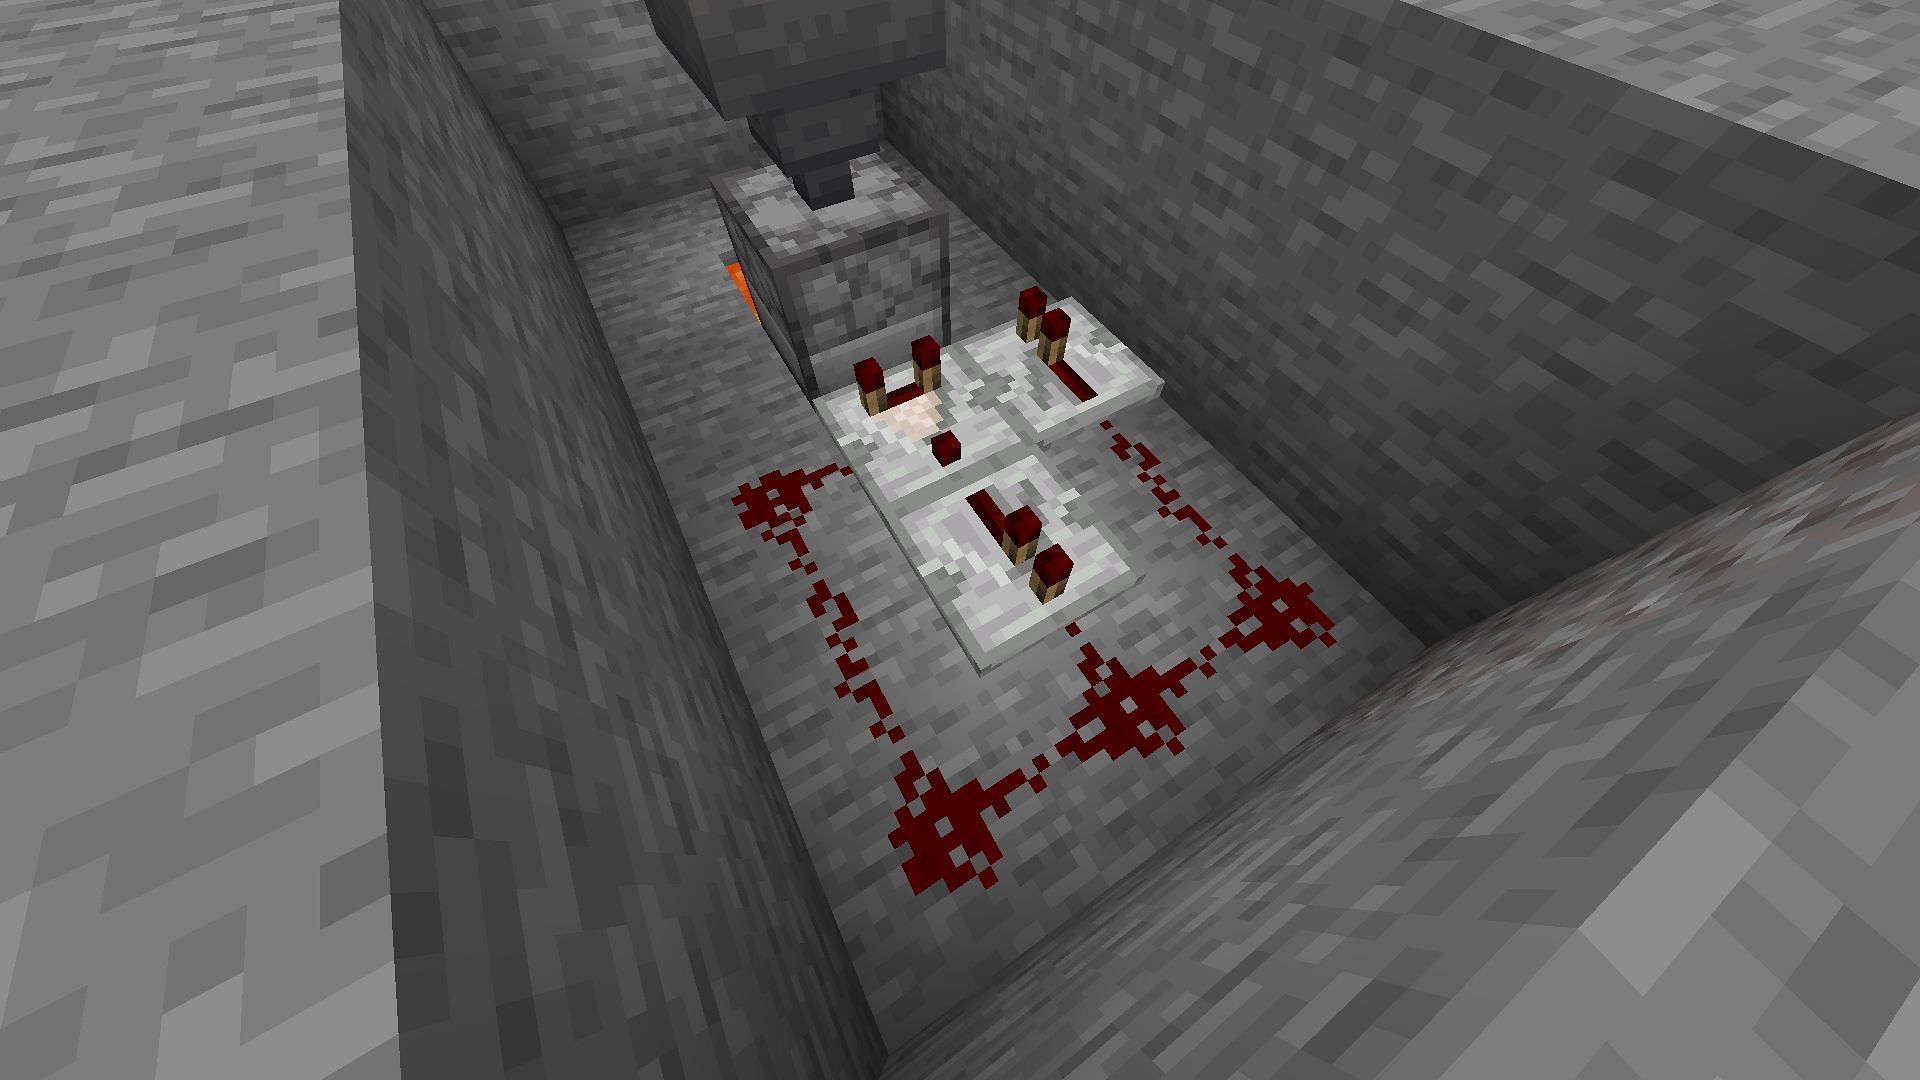
Redstone Trash Can
This design utilizes redstone mechanisms to create an automatic disposal system. Here’s how to build one:
- **Materials Needed**: 1 Hopper, 1 Chest, Redstone Dust, and a Piston.
- **Steps**:
- Place the chest on the ground.
- Attach a hopper to the chest.
- Place a piston above the hopper and connect it with redstone dust.
- When items are placed in the hopper, the piston will push them into the void, effectively disposing of them.
Item Disposal System
This system allows you to dispose of multiple items at once. Here’s how to create it:
- **Materials Needed**: 1 Chest, 1 Hopper, 1 Water Source Block, 2 Signs.
- **Steps**:
- Place the chest on the ground.
- Connect a hopper to the chest.
- Dig a hole next to the hopper and place a water source block.
- Place signs around the water to contain the items.
- Drop items into the hopper, and they will be washed away into the void.
How to Use a Trash Can
Using a trash can in Minecraft is straightforward. Here’s how to make the most of it:
- **Throwing Items**: Simply drop the items you wish to dispose of into the trash can.
- **Automatic Disposal**: For redstone trash cans, place items into the hopper to trigger the disposal mechanism.
- **Regular Maintenance**: Check your trash can regularly to ensure it’s functioning properly and not overflowing.
Common Mistakes to Avoid
While using a trash can is simple, players often make some common mistakes. Here are a few to watch out for:
- **Not Testing**: Always test your trash can design before using it extensively.
- **Overloading**: Avoid placing too many items at once, especially in automatic designs.
- **Ignoring Maintenance**: Regularly check your trash can to prevent blockages or malfunctions.
Maintaining Your Trash Can
Proper maintenance of your trash can is essential for optimal performance. Here are some tips:
- Check for blockages in hoppers and water flow.
- Regularly clean out any items that may have stuck in the system.
- Upgrade your trash can design as needed to accommodate your gameplay style.
Conclusion
In conclusion, a Minecraft trash can is an invaluable tool for any player looking to enhance their inventory management. By following the steps outlined in this guide, you can easily build and maintain a trash can that suits your needs. Whether you opt for a basic design or an advanced redstone system, having a trash can will significantly improve your gaming experience. If you found this article helpful, feel free to leave a comment below or share it with fellow players!
Thank you for reading, and happy crafting in your Minecraft adventures!
TwitchCon Vegas: The Ultimate Gathering For Gamers And Streamers
Exploring The Life And Career Of Cleopatra Coleman: A Rising Star In Hollywood
Kim Hieora: The Rising Star Of South Korean Entertainment